
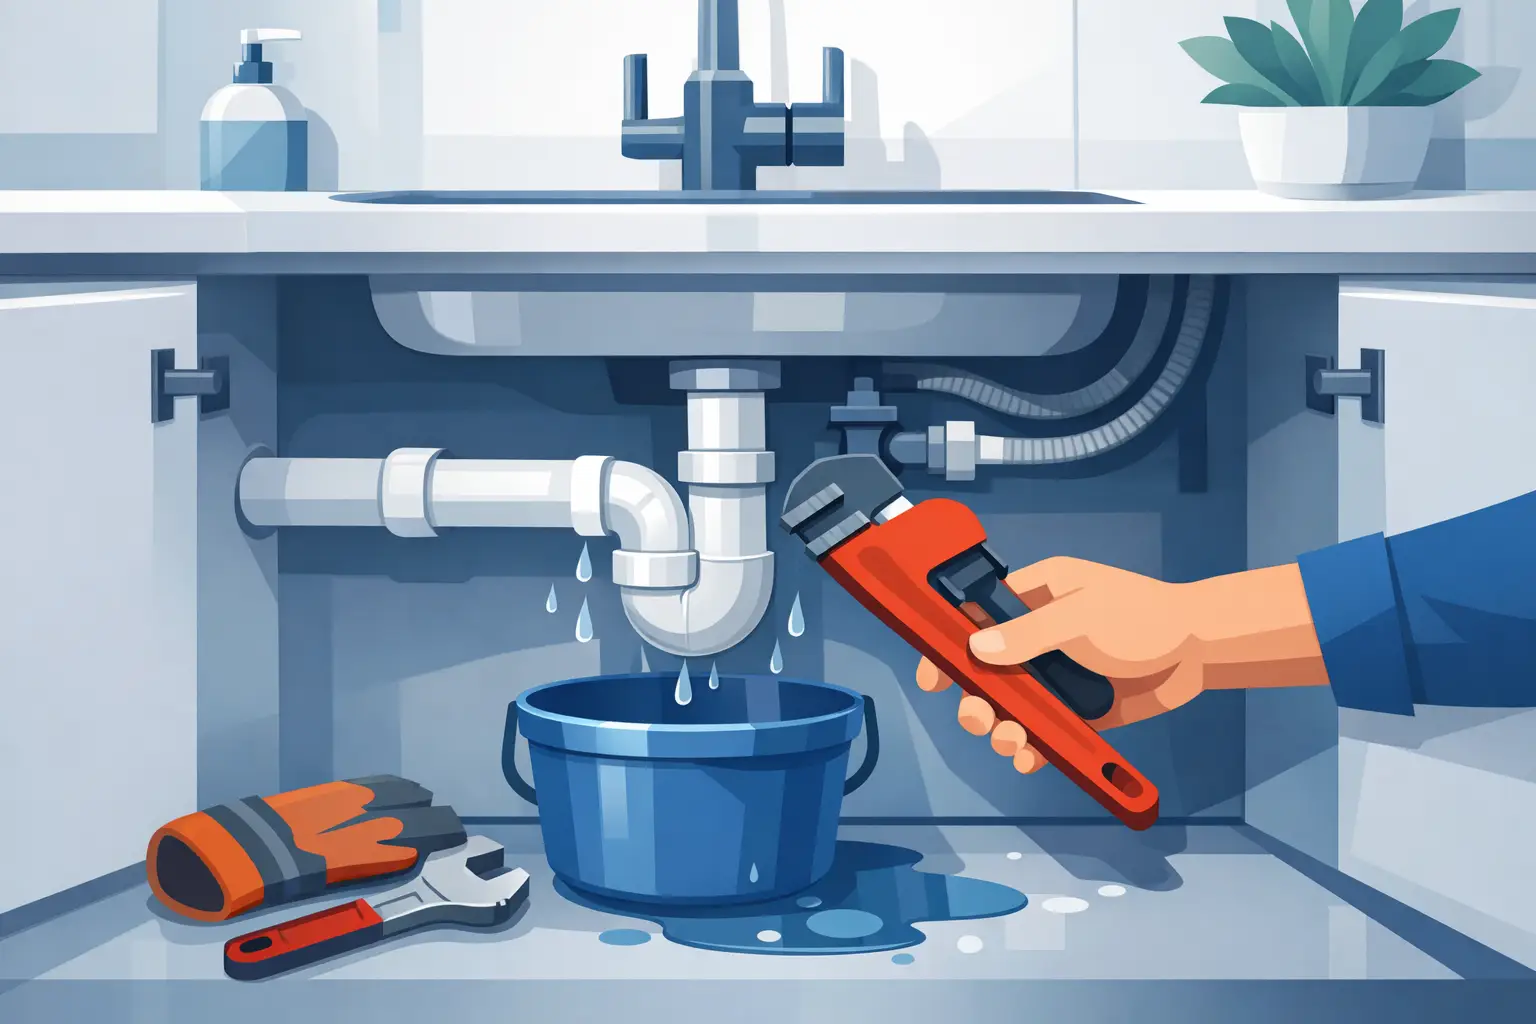
A damp cabinet base, a musty smell, or a small puddle appearing after the faucet runs can turn into damaged cabinetry and flooring faster than most property owners expect. To fix leaking pipe under sink areas safely, first identify exactly where the water begins. The visible drip is not always the source, and tightening the wrong fitting can make a manageable repair more difficult.
Most under-sink leaks come from drain connections, supply lines, the faucet base, or the sink basket. A calm, methodical check protects your kitchen or bathroom, avoids unnecessary disruption, and helps you decide whether the repair is suitable for a quick DIY fix or needs a qualified plumber.
Start by Finding the True Source of the Leak
Empty the cabinet completely and dry the pipes, fittings, and cabinet floor with an old towel. Place dry paper towels beneath the drain trap, around the shutoff valves, and under the water supply hoses. Then run the faucet for a minute while watching closely. Paper towels make even a slow drip easier to locate.
Test the drain and water lines separately. If water appears only while the faucet is running but not when the drain is used, inspect the supply hoses, shutoff valves, faucet body, and faucet base. If the leak begins when water travels down the sink, focus on the drain assembly, tailpiece, P-trap, and connecting joints.
For a kitchen sink, fill the basin partway and then release the water. This creates a stronger flow through the drain and can reveal a loose or cracked connection that a light stream may not expose. If you have a garbage disposal, check its discharge connection and the dishwasher drain hose as well.
Do not overlook moisture running down from above. A leaking faucet base or loose countertop seal can send water along the outside of the pipe, making a drain fitting look guilty when it is not.
Before You Fix a Leaking Pipe Under Sink Areas
Turn off the water supply before working on pressurized water lines. The shutoff valves are usually located inside the cabinet, with one serving hot water and the other cold. Turn each valve clockwise until it stops, then open the faucet to release residual pressure. If a valve will not turn easily, do not force it. Old valves can fail or begin leaking at the stem.
Drain pipes are not pressurized, but place a bucket and towels underneath before loosening any section. The P-trap, the curved part of the drain pipe, holds water and may also contain debris. Wear gloves if you are handling a trap that serves a kitchen sink or has not been cleaned recently.
Avoid using excessive force. Plastic drain fittings can crack, metal fittings can corrode, and overtightening compression-style joints may distort the washer that is supposed to create the seal. Hand-tightening followed by a small additional adjustment is normally enough for plastic slip-joint connections.
Common Under-Sink Leaks and Practical Repairs
Loose drain slip-joint nuts
A drip at the connection between the vertical tailpiece and the P-trap is one of the most common issues. Check that the pipe is aligned correctly and that the slip-joint nut is seated straight. Tighten it by hand, then run water to test it.
If it still drips, remove the nut and inspect the tapered washer inside. A washer installed backward, flattened by age, or damaged by cleaning chemicals will not seal properly. Replace it with the correct size and reinstall the connection without cross-threading the nut. Do not apply plumber’s tape to standard plastic slip-joint threads. These connections seal with the internal washer, not the threads.
A worn or misaligned P-trap
Water leaking from the curved P-trap may be caused by a loose connection, a deteriorated washer, or a crack in the pipe itself. Remove the trap carefully over a bucket, clean the sealing surfaces, and inspect it in good light. Replace a cracked, heavily stained, or brittle trap rather than trying to patch it.
If the trap keeps slipping out of alignment, the problem may be the drain layout. Pipes under the sink should connect without being pulled, bent, or forced into place. A poorly aligned setup can keep placing pressure on joints and create repeat leaks.
Leaking faucet supply hoses or shutoff valves
A supply hose leak may show up as droplets at the nut below the faucet or at the shutoff valve. With the water turned off, dry the area and check whether the nut is loose. A gentle adjustment with an adjustable wrench may solve a minor seep, but do not keep tightening if the leak remains.
Replace flexible braided hoses that show corrosion, kinks, fraying, swelling, or age-related wear. If water comes from the valve stem or the valve body, the shutoff valve itself may require repair or replacement. This is often better handled by a professional because the main water supply may need to be isolated, and a failed valve can cause sudden water damage.
Water around the sink drain basket
If water collects beneath the sink directly under the drain opening, the seal between the sink and drain basket may have failed. This repair requires removing the drain assembly, cleaning away old sealant, and reinstalling the basket with the correct sealing material and hardware.
It is a reasonable repair for an experienced homeowner, but it can be awkward in a tight cabinet. If the drain basket is rusted, the sink is fragile, or the assembly connects to a disposal, professional service can prevent damage to surrounding components.
Do Not Treat a Leak as a One-Time Mess
After a repair, dry every surface again and test the sink in stages. Run hot and cold water, fill and drain the basin, and check the cabinet after 10 to 15 minutes. Leave a dry paper towel below the repaired joint overnight if the leak was slow. A completely dry towel is a more reliable result than a quick visual check.
Also inspect the cabinet material. Swollen particleboard, peeling laminate, soft wood, mold-like staining, or a persistent odor may mean the leak has been present longer than it appeared. The pipe repair stops the source, but the cabinet may need drying, cleaning, or restoration to avoid further deterioration.
For rental homes, apartments, offices, and retail spaces, document visible damage and report persistent plumbing problems promptly. Small leaks can affect neighboring units, stored inventory, electrical outlets inside cabinets, and building finishes. Delaying repair may create a larger maintenance issue than the original drip.
When It Is Time to Call a Professional Plumber
A professional inspection is the safer choice when you cannot identify the source, the pipe is cracked, the shutoff valve leaks, or water appears behind the wall or beneath the floor. Call for help right away if you notice sewage odors, repeated backups, discolored water, mold growth, or a leak near electrical wiring.
It also makes sense to bring in a technician when a repair works briefly but leaks again. Recurring drips often point to pipe misalignment, excessive water pressure, failed valves, poor drain installation, or hidden deterioration. Replacing one washer may not address the real cause.
Dynafix Technical Services can assess under-sink plumbing problems, replace damaged fittings and valves, and help protect the surrounding cabinet and finishes. Qualified support is especially valuable when you need a clear diagnosis, clean workmanship, and one coordinated maintenance partner for plumbing and other property repairs.
A bucket can contain a drip for a day, but it cannot protect a cabinet, floor, or neighboring space indefinitely. Once the area is dry and the source is confirmed, make the appropriate repair promptly and keep an eye on the connection after normal use.